How to install Raaga on Windows with the Official Installer
Installing Raaga in Windows is super easy (if you are a network administrator we recommend you.)
Raaga works on Window 7, 8 and 10. It's a good idea to make sure your system to up-to-date with all Windows updates.
Step 1 - Download Raaga Installer
Download installer for your windows operating system.
Step 2 - Run the installer
Find the installer you just downloaded (it's probably in your Downloads folder)
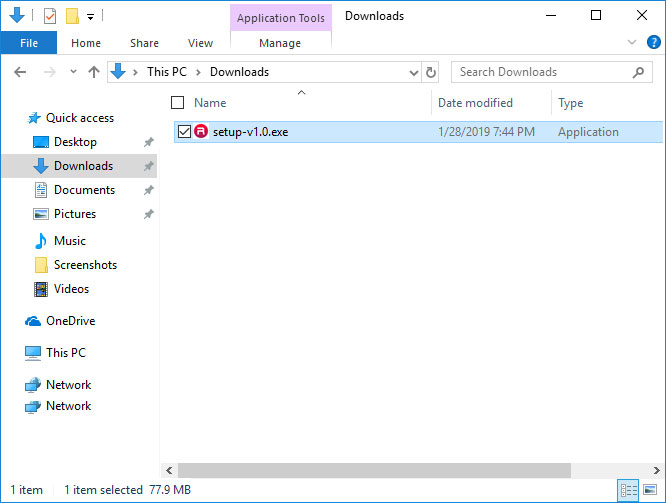
Double-click the installer to run it.
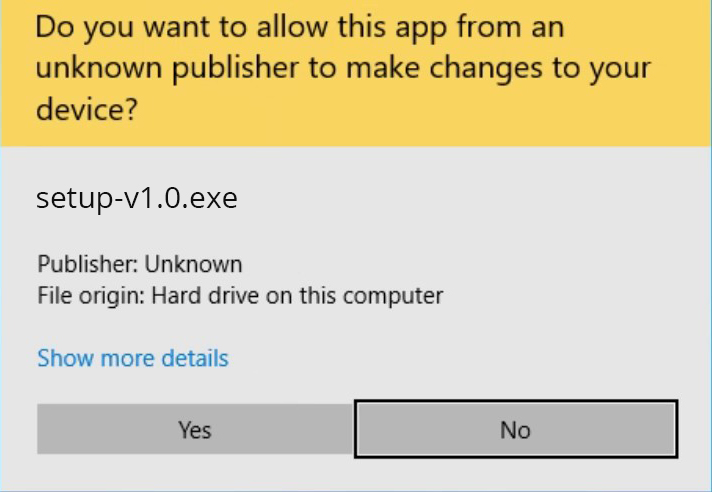
THIS IS SOFTWARE FROM THE INTERNET!
Windows complains about Raaga coming from the internet.
As a result, we've outlined the extra steps needed to help Windows install Raaga for both Windows.
Windows
"User Account Control" will ask you if you want to allow this program to make changes to your computer. Click "Yes"
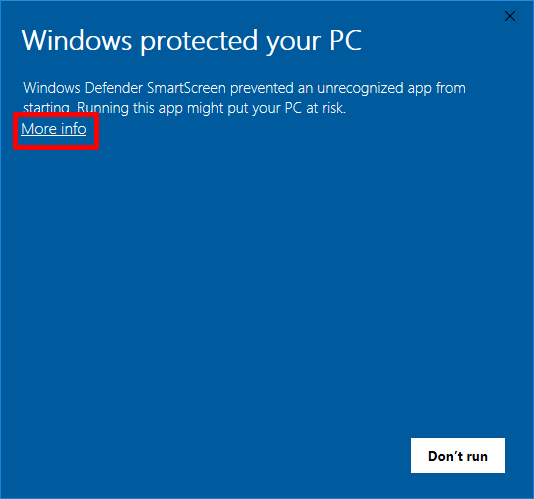
Windows Defender will pop up with a warning message. You should click on the "More info" link.
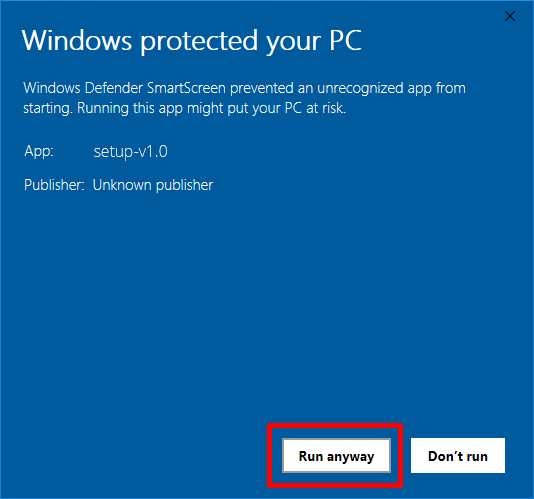
The message will change giving you more information about the installer and display a "Run anyway" button. Click "Run anyway".
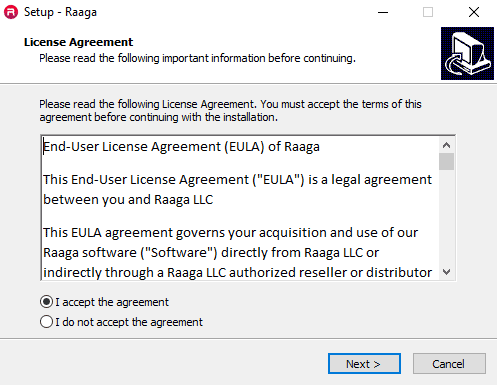
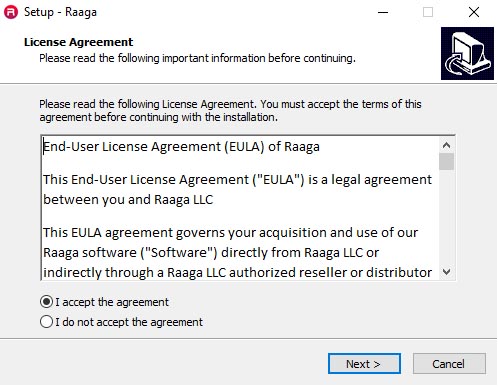
Step 3 - License Agreement
Review the license and click "Next".
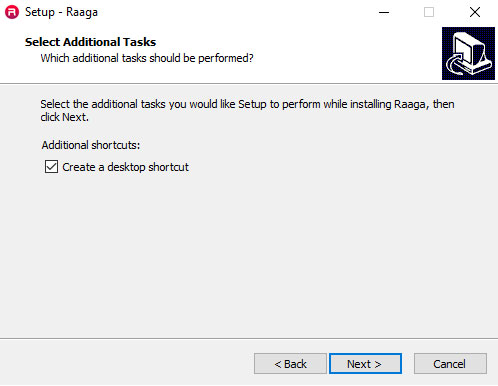
Step 4 - Create a desktop shortcut
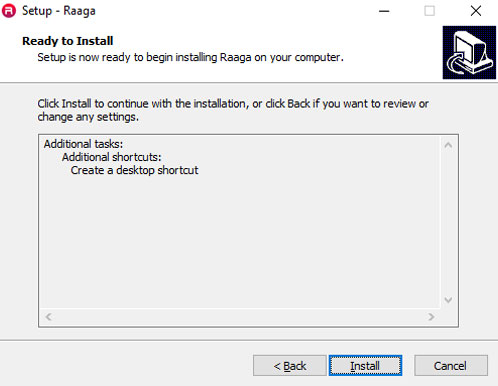
Step 5 - Ready to install
Setup is now ready to begin installing Raaga on your computer.
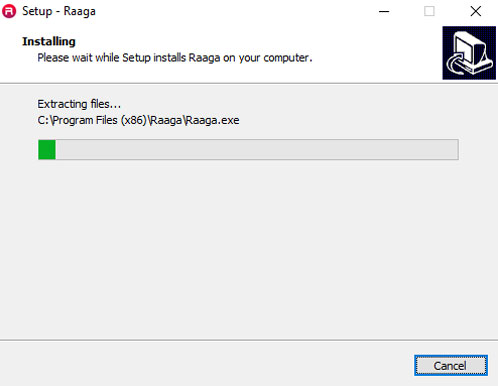
Step 6 - Installing
Please wait while Setup installs Raaga on your computer.
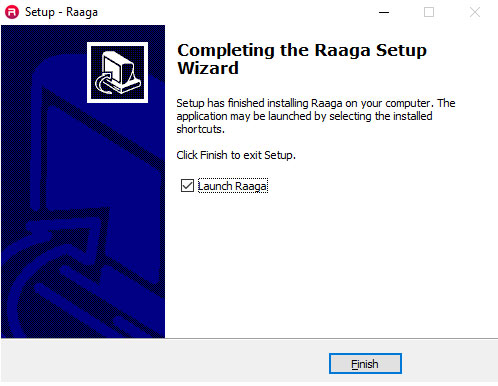
Step 7 - Complete
The installation has completed successfully, click "Finish" to close the installer.
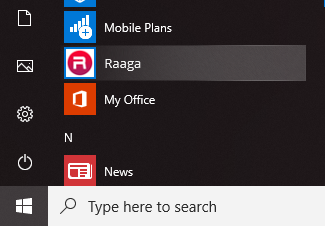
Step 8 - Start Raaga
You can start Raaga by clicking on the icon in the Start menu.